Added:
13 Mar 2023
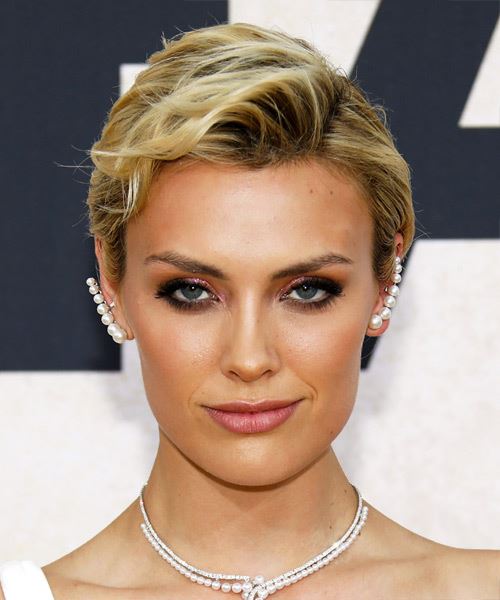
Wallis Day has an out-of-this-world pixie cut which will take some time to get used to, but it is a style you should try at least once! All hair types, including thin hair, will look great with a pixie cut. This is because the small structure of the hair shaft doesn't weigh the roots down. Therefore, the short haircut naturally provides the hair more significant lift at the roots. In turn, this creates the appearance of additional body and dimension. The side parting allows Wallis to flip her hair to the other side, which creates height for this look and volume. Her golden blonde hair and natural-looking highlights suit the pixie cut so well but will need to be touched up once every 6 weeks or so to stay vibrant.
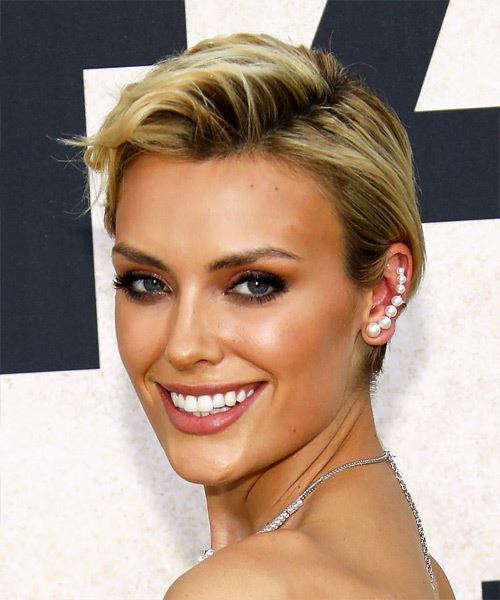
When it comes to your makeup application, you can copy Wallis with a trendy thick liner, which gives off a sexy eye illusion. A gorgeous pink lipstick color with a shimmer on top and you are ready to show off your new pixie cut to the world!
Wallis Day Pixie Haircut With Highlights
Visual Story
Hairstyle Suitability Rating:
Hairstyle Popularity Rating: ★★★★★
Hairstyle Popularity Rating: ★★★★★
Hairstyle Type
Category
Formal
Length
Short
Elasticity
Straight
Hair Color
Blonde and Light Blonde Highlights
Haircut Technique
Type
Scissor Cut
Suitability
Gender
Women
Face Shape
round,oval,oblong,square,heart,diamond,triangular
Hair Density
Thin/Medium/Thick
Hair Texture
Fine/Medium/Coarse
Age
Under 21, 21 - 30, 31 - 40, 41 - 50, 51 - 60, and Over 60
Height
Any
Weight
Thin/Average/Large
Forehead Height
Short/Average
Neck Length
Short/Average
Ears
Small/Average
Nose
Small/Average
Glasses
No
Styling
Time
20 minutes
Products
gel, gel spray
Tools
blow dry
Similar hairstyles you may be interested in...
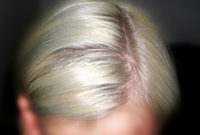
Using the corner of your comb and standing in front of a mirror find the middle of your left eye and then drag the comb straight up slowly until you reach your hairline and then continue back in a straight manner to achieve an even left part. A side part is great for longer face shapes because it creates the illusion of width.
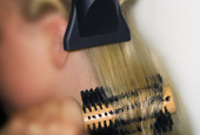
Using your brush, blow-dry in small sections starting from the nape/back. Tilting your head forward, place the brush an inch below the roots to hold them taut and aim the dryer above the brush for a few seconds before continuing to the ends.
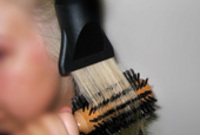
Using your brush, blow-dry in small sections starting from the sides. Tilting your head forward, place the brush an inch below the roots to hold them taut and aim the dryer above the brush for a few seconds before continuing to the ends. Repeat this step on a new section directly above the dry one.
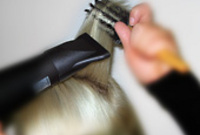
To blow-dry the crown/top sections, take a section of hair no bigger than the diameter of the brush and blow-dry the hair placing the brush under the section of hair. With your blow-dryer in front of the brush, follow the brush in an upwards direction at the roots and an outwards position at the ends for volume and softness. Continue until the section is dry.
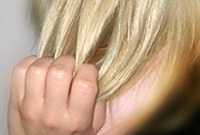
Using a small amount of gel, work it through the mid-lengths and ends in a downward motion. For added texture, pinch the ends as you go.
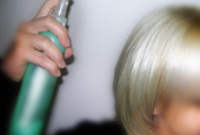
To finish, evenly mist gel spray around the top, sides and back to create a lasting style.

