Added:
13 Jun 2023
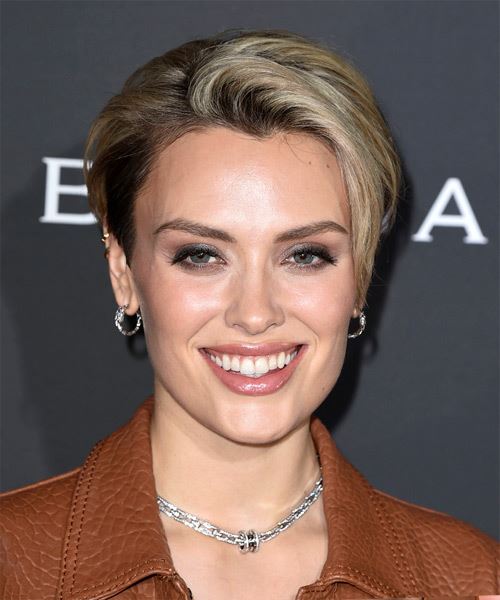
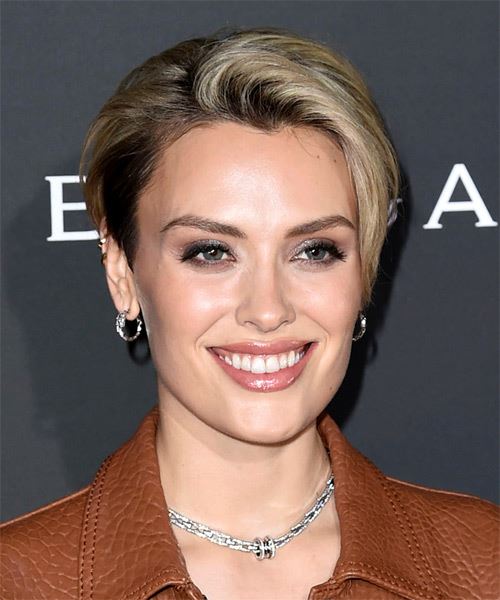
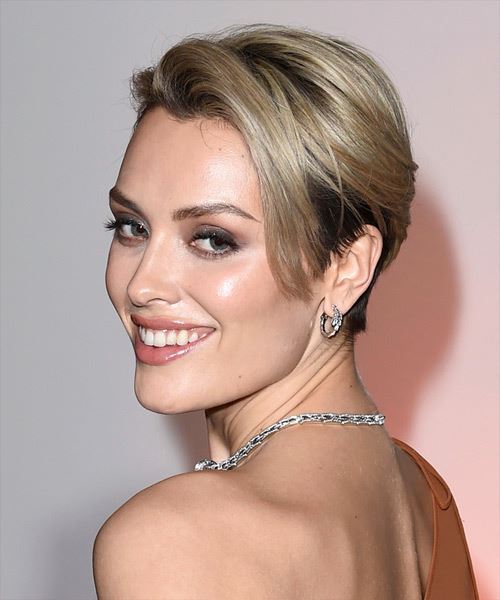
Wallis Day's two-tone pixie haircut is bold and daring, showcasing her individuality and fearless sense of style. Combining contrasting colors, short length, and precise cut makes for a striking, attention-grabbing look. The two-tone color scheme is the defining feature of Wallis Day's pixie haircut. This involves incorporating a medium blonde and darker brunette to create a bold, eye-catching look. These colors are excellent for those wanting to keep their color natural. You must color your hair once every 4-6 weeks to ensure your color stays vibrant and your roots do not show. Her hair is longer on the top than the sides, allowing her to use it to frame her face, making it ideal for those with an oval, square, triangle, diamond, and heart face shape.
Wallis has kept her makeup application perfect, with flawless skin, contouring and highlighting her facial features, and a stunning eyeshadow application that makes her eyes look dreamy. She finished off with a light pink lipstick.
Wallis Day Two-Tone Pixie Haircut
Visual Story
Hairstyle Suitability Rating:
Hairstyle Popularity Rating: ★★★★★
Hairstyle Popularity Rating: ★★★★★
Hairstyle Type
Category
Formal
Length
Short
Elasticity
Straight
Hair Color
Blonde and Light Blonde Highlights
Haircut Technique
Type
Scissor Cut
Suitability
Gender
Women
Face Shape
oval,square,heart,diamond,triangular
Hair Density
Thin/Medium
Hair Texture
Fine/Medium
Age
Under 21, 21 - 30, 31 - 40, 41 - 50, and 51 - 60
Height
Any
Weight
Thin/Average
Forehead Height
Short/Average
Neck Length
Long
Ears
Small/Average
Nose
Small/Average
Glasses
No
Styling
Time
30 minutes
Products
hair spray
Tools
blow dry
Similar hairstyles you may be interested in...
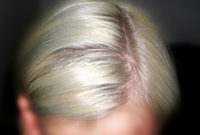
Using the corner of your comb and standing in front of a mirror find the middle of your left eye and then drag the comb straight up slowly until you reach your hairline and then continue back in a straight manner to achieve an even left part. A side part is great for longer face shapes because it creates the illusion of width.
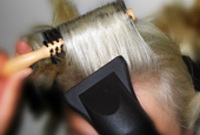
To blow-dry your bangs you will need to take your brush and firstly make sure the section is no wider than the diameter of the brush. Next, place your brush on top of your head and under your section. Using your blow-dryer on a medium setting, blow-dry your hair from the roots, slowly working your way to the ends. Make sure to keep the blow-dryer in front of the brush at all times. Continue this step until the bangs are completely dry.
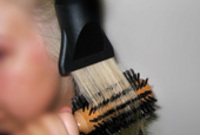
Using your brush, blow-dry in small sections starting from the sides. Tilting your head forward, place the brush an inch below the roots to hold them taut and aim the dryer above the brush for a few seconds before continuing to the ends. Repeat this step on a new section directly above the dry one.
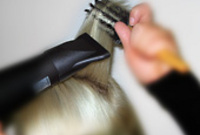
Using your brush, blow-dry in small sections starting from the nape/back. Tilting your head forward, place the brush an inch below the roots to hold them taut and aim the dryer above the brush for a few seconds before continuing to the ends.
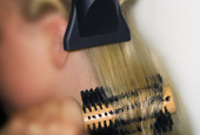
To blow-dry the crown/top sections, take a section of hair no bigger than the diameter of the brush and blow-dry the hair placing the brush under the section of hair. With your blow-dryer in front of the brush, follow the brush in an upwards direction at the roots and an outwards position at the ends for volume and softness. Continue until the section is dry.
To finish, apply a minimal amount of hairspray from an arms length distance to the top, sides and back. Take care not to use too much or you will end up with a white, flaky residue which looks like dandruff.

