Added:
05 Oct 2009
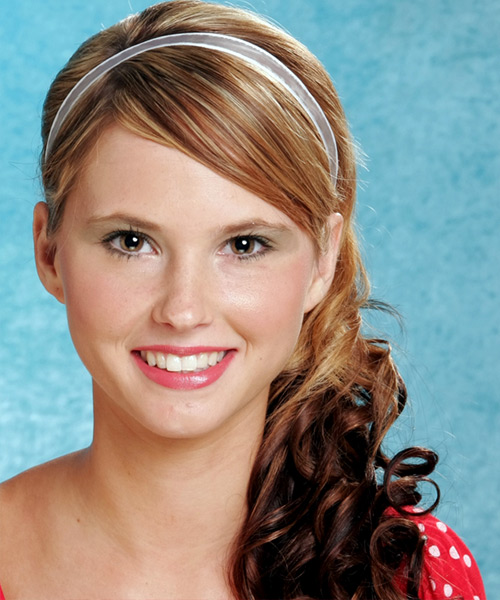
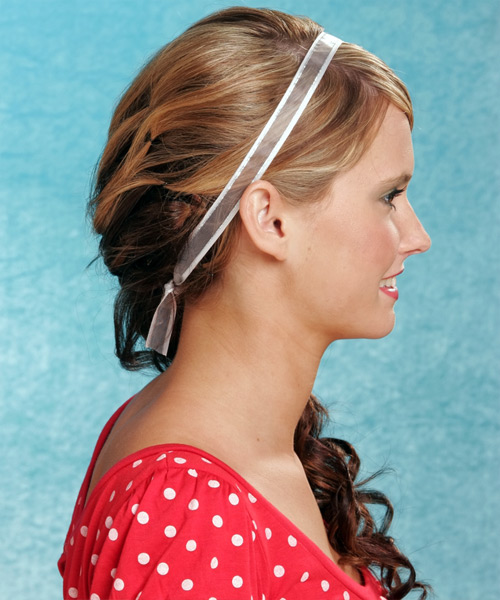
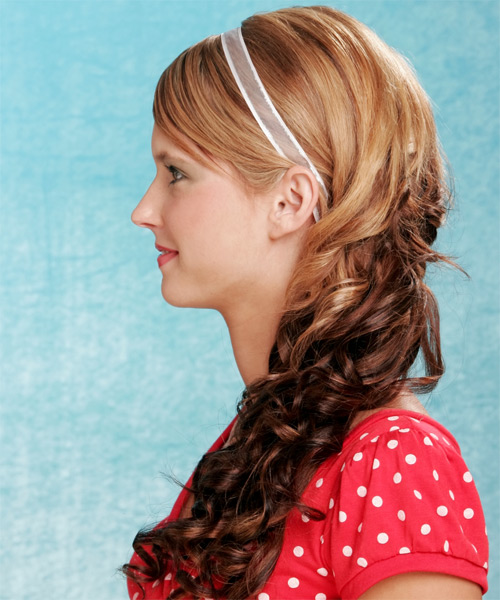
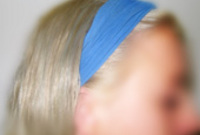
Our model is showing off a stunning two-toned hairstyle that is casual yet hits all the right notes. This gorgeous Half Up Half Down hairdo is easy to re-create on long and luscious locks. The mid-lengths are styled in defined curls and pinned to one side to achieve a stunning asymmetrical shape. Smooth and sassy bangs show the style's versatility, and a headband finishes it perfectly. This hairstyle is ideal for those with oval, oblong, square and diamond face shapes as the hair pulled to the side helps to frame your face and the bangs will soften your forehead area. The best part about this style is that the side pony allows you to keep your hair out of your eyes and still look stylish. The two-tone is trending as the bottom of her hair is darker than the top. The dark brunette pairs well with the lighter brunette and blonde highlights that our model is rocking. This color combination compliments her skin complexion, and the more golden hair on the top brings out the color of her eyes.
You want to keep your makeup application simple and effortless. Add a bit of blush to your cheeks for some color, and finish off with a gloss or pastel lip stick color.
Gorgeous Half Up Half Down Hairstyle Pinned To One Side
Visual Story
Hairstyle Suitability Rating:
Hairstyle Popularity Rating: ★★★★★
Hairstyle Popularity Rating: ★★★★★
Hairstyle Type
Category
Casual
Length
Half Up Long
Elasticity
Curly
Hair Color
Dark Copper Blonde
Haircut Technique
Type
Suitability
Gender
Women
Face Shape
oval,oblong,square,diamond
Hair Density
Thin/Medium
Hair Texture
Fine/Medium
Age
Under 21, 21 - 30, 31 - 40, and 41 - 50
Height
Any
Weight
Thin/Average
Forehead Height
Short/Average
Neck Length
Short/Average
Ears
Small/Average
Nose
Small/Average
Glasses
No
Styling
Time
30+ minutes
Tip
Direct your hair into position while applying the finishing products.
Products
moisturizer, mousse, smoothing shine, lacquer
Tools
blow dry, curling iron
Similar hairstyles you may be interested in...
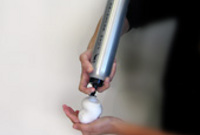
Apply a small amount of hair moisturizer to the palm of your hand and distribute it evenly through the mid-lengths and the ends. Moisturizer will help your hair to maintain good condition and protect your strands from heat as you style.
Apply styling mousse to damp hair, using your palm as a measuring guide, and evenly distribute it along the hair shaft. Styling mousse will add hold and can help achieve better results.
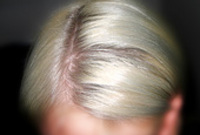
Using the corner of your comb and standing in front of a mirror find the middle of your right eye and then drag the comb straight up slowly until you reach your hairline and then continue back in a straight manner to achieve an even right part. A side part is great for longer face shapes because it creates the illusion of width.
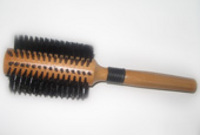
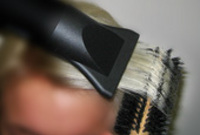
A large radial brush is usually used on long straight hair types or to smooth out wavy or curly hair textures. When selecting a radial brush, always use one with a pure bristle as this will not tear or damage the hair.
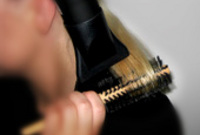
To blow-dry under, start at the nape/back and place your brush under the section of hair close to the nape. With the dryer held up over the hair, pull the brush from the roots and continue to the mid length's, keeping the blow-dryer following over the top. Once you reach the ends, curve them under. Repeat this step until the section is completely dry.

To blow-dry the sides, take out a small section of hair from the front and clip the rest of the hair away. Next, place the brush under the section and then pull the brush and hair forward around your face (this curving motion creates body). Place the hair-dryer on top of the brush until you reach the ends and then turn the ends under. Repeat until dry.
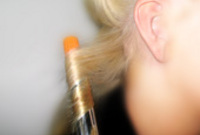
Take a section of your hair no wider than the diameter of your brush. Place your brush under and at the roots of your section. Then with your blow-dryer above, drag the brush up through the mid-lengths and ends of the hair following with your blow-dryer and pulling the hair to the left. Repeat until your hair is completely dry.

Take a section of your hair no wider than the diameter of your brush. Place your brush under and at the roots of your section. Then with your blow-dryer above, drag the brush up through the mid-lengths and ends of the hair following with your blow-dryer and pulling the hair to the right. Repeat until your hair is completely dry.

Starting from the back, take a small section of hair and place the ends at the base of your curling iron barrel and then wrap the hair up around the barrel until you reach your roots. Hold the hair for 5 to 10 seconds and then release the hair by unwinding the strands backwards. Continue this step until the entire back section of your hair is completed.
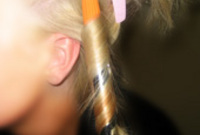
Take a small section of hair and place the ends at the base of your curling iron barrel and then wrap the hair up around the barrel until you reach your mid-lengths. Hold the hair for 5 to 10 seconds and then release the hair by unwinding the strands backwards.
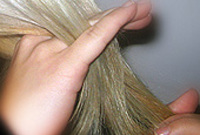
Pick up a small selection of hair from your mid section no bigger than your tail comb. Place your comb at the roots and then comb up and down until the hair is standing up by itself. Continue to the crown and finish at the sides. Repeat this step if you require more volume.
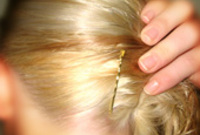
Take your section of hair and pull it tightly across to the opposite side and pin it securely into place.
Apply a very small amount of smoothing shine to the palms of your hands and then run it through the mid-lengths and ends of your hair. Be careful not to add any to the roots or a large amount to any section of the hair as smoothing shine can be very heavy on the hair, weighing it down and making it appear oily.
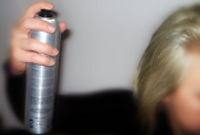
Lacquer is great for strong hold. A small amount is all that is required to finish and should be applied from an arms length distance to the entire style.

