Added:
27 May 2018
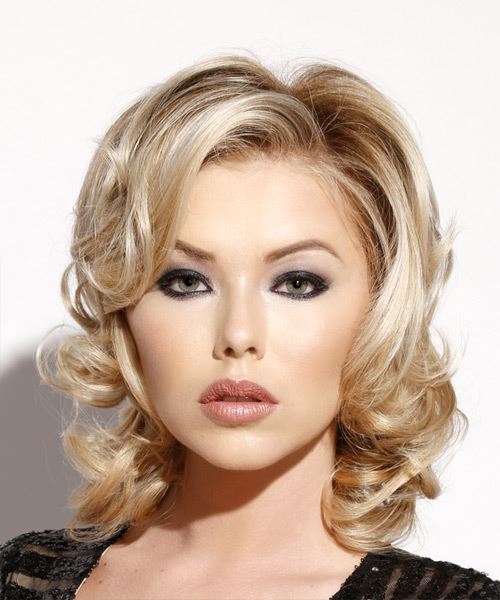
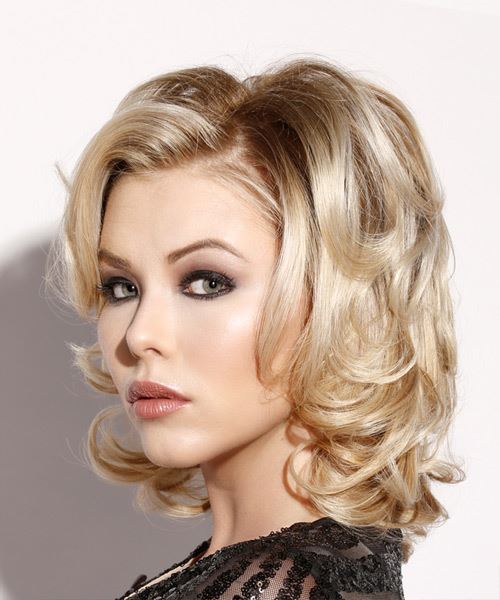
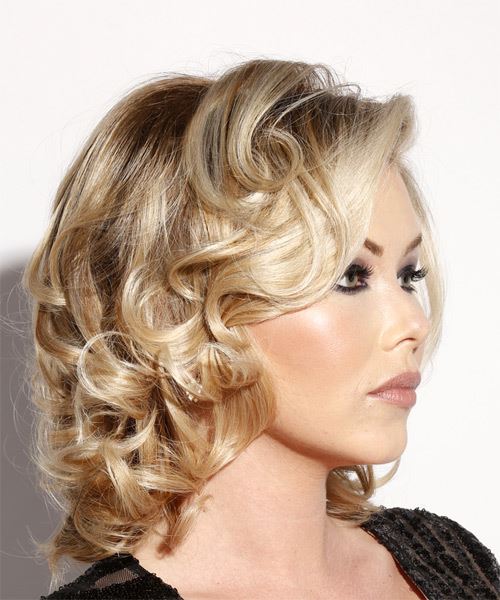
Our model is flaunting a lovely curled 'do here, with her locks left out to sit on the shoulders, showing off the large curls all over that gives this style plenty of body and volume. The shape of this 'do is perfect to complement an oval face shape and needs product for hold and shine. The side swept curled bangs are ideal for highlighting the eyes and cheekbones, plus they add height to the hairline in front for a fabulous finish. This shoulder-length hairstyle with large curls adds natural volume and length to your look. Its long curls give you gorgeous hair full of life and movement. It is perfect for all styles, but one of its many benefits is that it can be worn on either shoulder, as bangs or ponytail - just make sure you choose it at the right length so it looks great!
This shoulder-length hairstyle with large curls is medium to long, giving your hair a more extended appearance with some natural curls. Add graduation day sparkle to your style. These long blonde curls are stylish and easy to style, with a go-with-anything attitude. You can try any length that you want. However, it is essential to follow your face shape. If you have a round face, go with medium-length curls two inches long. If you have an Oval or oblong face shape, keep the hair curling between three and four inches. This big, bouncy, and full-bodied look is perfect for any occasion. It's got a soft side swept curl on the sides to add height in front and back while framing the face. Tousled waves with natural curls down the back add volume to the crown. The shape of this 'do is ideal for an oval face shape and requires product for hold and shine. The best thing about this style is that it's easy to manage with no fussing needed after wash day.
Large Blonde Shoulder-Length Curls
Visual Story
Hairstyle Suitability Rating:
Hairstyle Popularity Rating: ★★★★★
Hairstyle Popularity Rating: ★★★★★
Hairstyle Type
Category
Formal
Length
Medium
Elasticity
Wavy
Hair Color
Light Blonde
Haircut Technique
Type
Scissor Cut
Suitability
Gender
Women
Face Shape
round,oval,oblong,square,heart,diamond,triangular
Hair Density
Medium
Hair Texture
Medium
Age
Under 21, 21 - 30, 31 - 40, and 41 - 50
Height
Any
Weight
Thin/Average/Large
Forehead Height
Short/Average
Glasses
No
Styling
Time
20 minutes
Products
mousse, gel wax, hair spray
Tools
blow dry, hot rollers
Similar hairstyles you may be interested in...
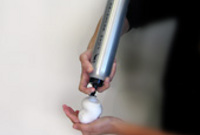
Apply styling mousse to damp hair, using your palm as a measuring guide, and evenly distribute it along the hair shaft. Styling mousse will add hold and can help achieve better results.
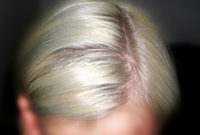
Using the corner of your comb and standing in front of a mirror find the middle of your left eye and then drag the comb straight up slowly until you reach your hairline and then continue back in a straight manner to achieve an even left part. A side part is great for longer face shapes because it creates the illusion of width.
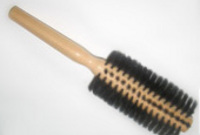
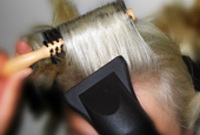
A medium radial brush is used on medium to long hair types to smooth out wavy or curly hair textures or to add body to straight hair. When selecting a radial brush, always use one with a pure bristle as this will not tear or damage the hair.
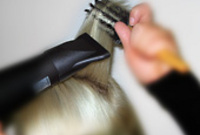
To blow-dry under, start at the nape/back and place your brush under the section of hair close to the nape. With the dryer held up over the hair, pull the brush from the roots and continue to the mid length's, keeping the blow-dryer following over the top. Once you reach the ends, curve them under. Repeat this step until the section is completely dry.

To blow-dry the sides, take out a small section of hair from the front and clip the rest of the hair away. Next, place the brush under the section and then pull the brush and hair forward around your face (this curving motion creates body). Place the hair-dryer on top of the brush until you reach the ends and then turn the ends under. Repeat until dry.
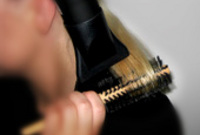
To blow-dry the crown/top sections, take a section of hair no bigger than the diameter of the brush and blow-dry the hair placing the brush under the section of hair. With your blow-dryer in front of the brush, follow the brush in an upwards direction at the roots and an outwards position at the ends for volume and softness. Continue until the section is dry.
To blow-dry your bangs you will need to take your brush and firstly make sure the section is no wider than the diameter of the brush. Next, place your brush on top of your head and under your section. Using your blow-dryer on a medium setting, blow-dry your hair from the roots, slowly working your way to the ends. Make sure to keep the blow-dryer in front of the brush at all times. Continue this step until the bangs are completely dry.
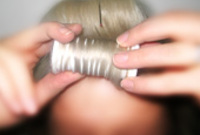
A large hot roller is used to give your hair a larger curl and to add lots of body.
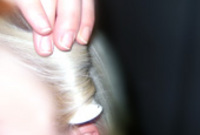
Take a section of hair no wider than the diameter of the hot roller and comb it through to ensure there are no knots. Place the roller at the ends of the section of hair, being sure to smooth the ends under, and then twist the roller vertically, making sure to roll it backwards, along the hair shaft to the roots and secure it with a pin or clip. Keep the rollers in your hair until they cool.
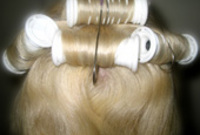
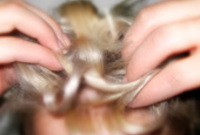
Take the entire back section of your hair, and then starting from the crown, take a smaller section of hair no wider than the diameter of the hot roller and comb it through to ensure there are no knots. Place the roller at the ends of the section of hair, being sure to smooth the ends under, and then twist the roller down the hair shaft until it meets your head and then secure it in place with a pin or clip. Repeat this step until you have reached the nape of your neck and the entire back section of your hair is completed. Keep the rollers in your hair until they cool.
Take your front bang section and roll it up into your hot roller in a forward direction so that the hair curls under. Continue applying hot rollers along the top of your head in the opposite direction, going backwards. Keep the rollers in your hair until they cool.
Apply gel-wax to your fingertips and then tilt your head forward and scrunch your hair.
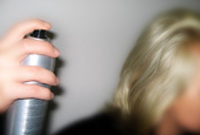
To finish, apply a minimal amount of hairspray from an arms length distance to the top, sides and back. Take care not to use too much or you will end up with a white, flaky residue which looks like dandruff.

